


Paint By Numbers
Paint By Numbers - How to get started
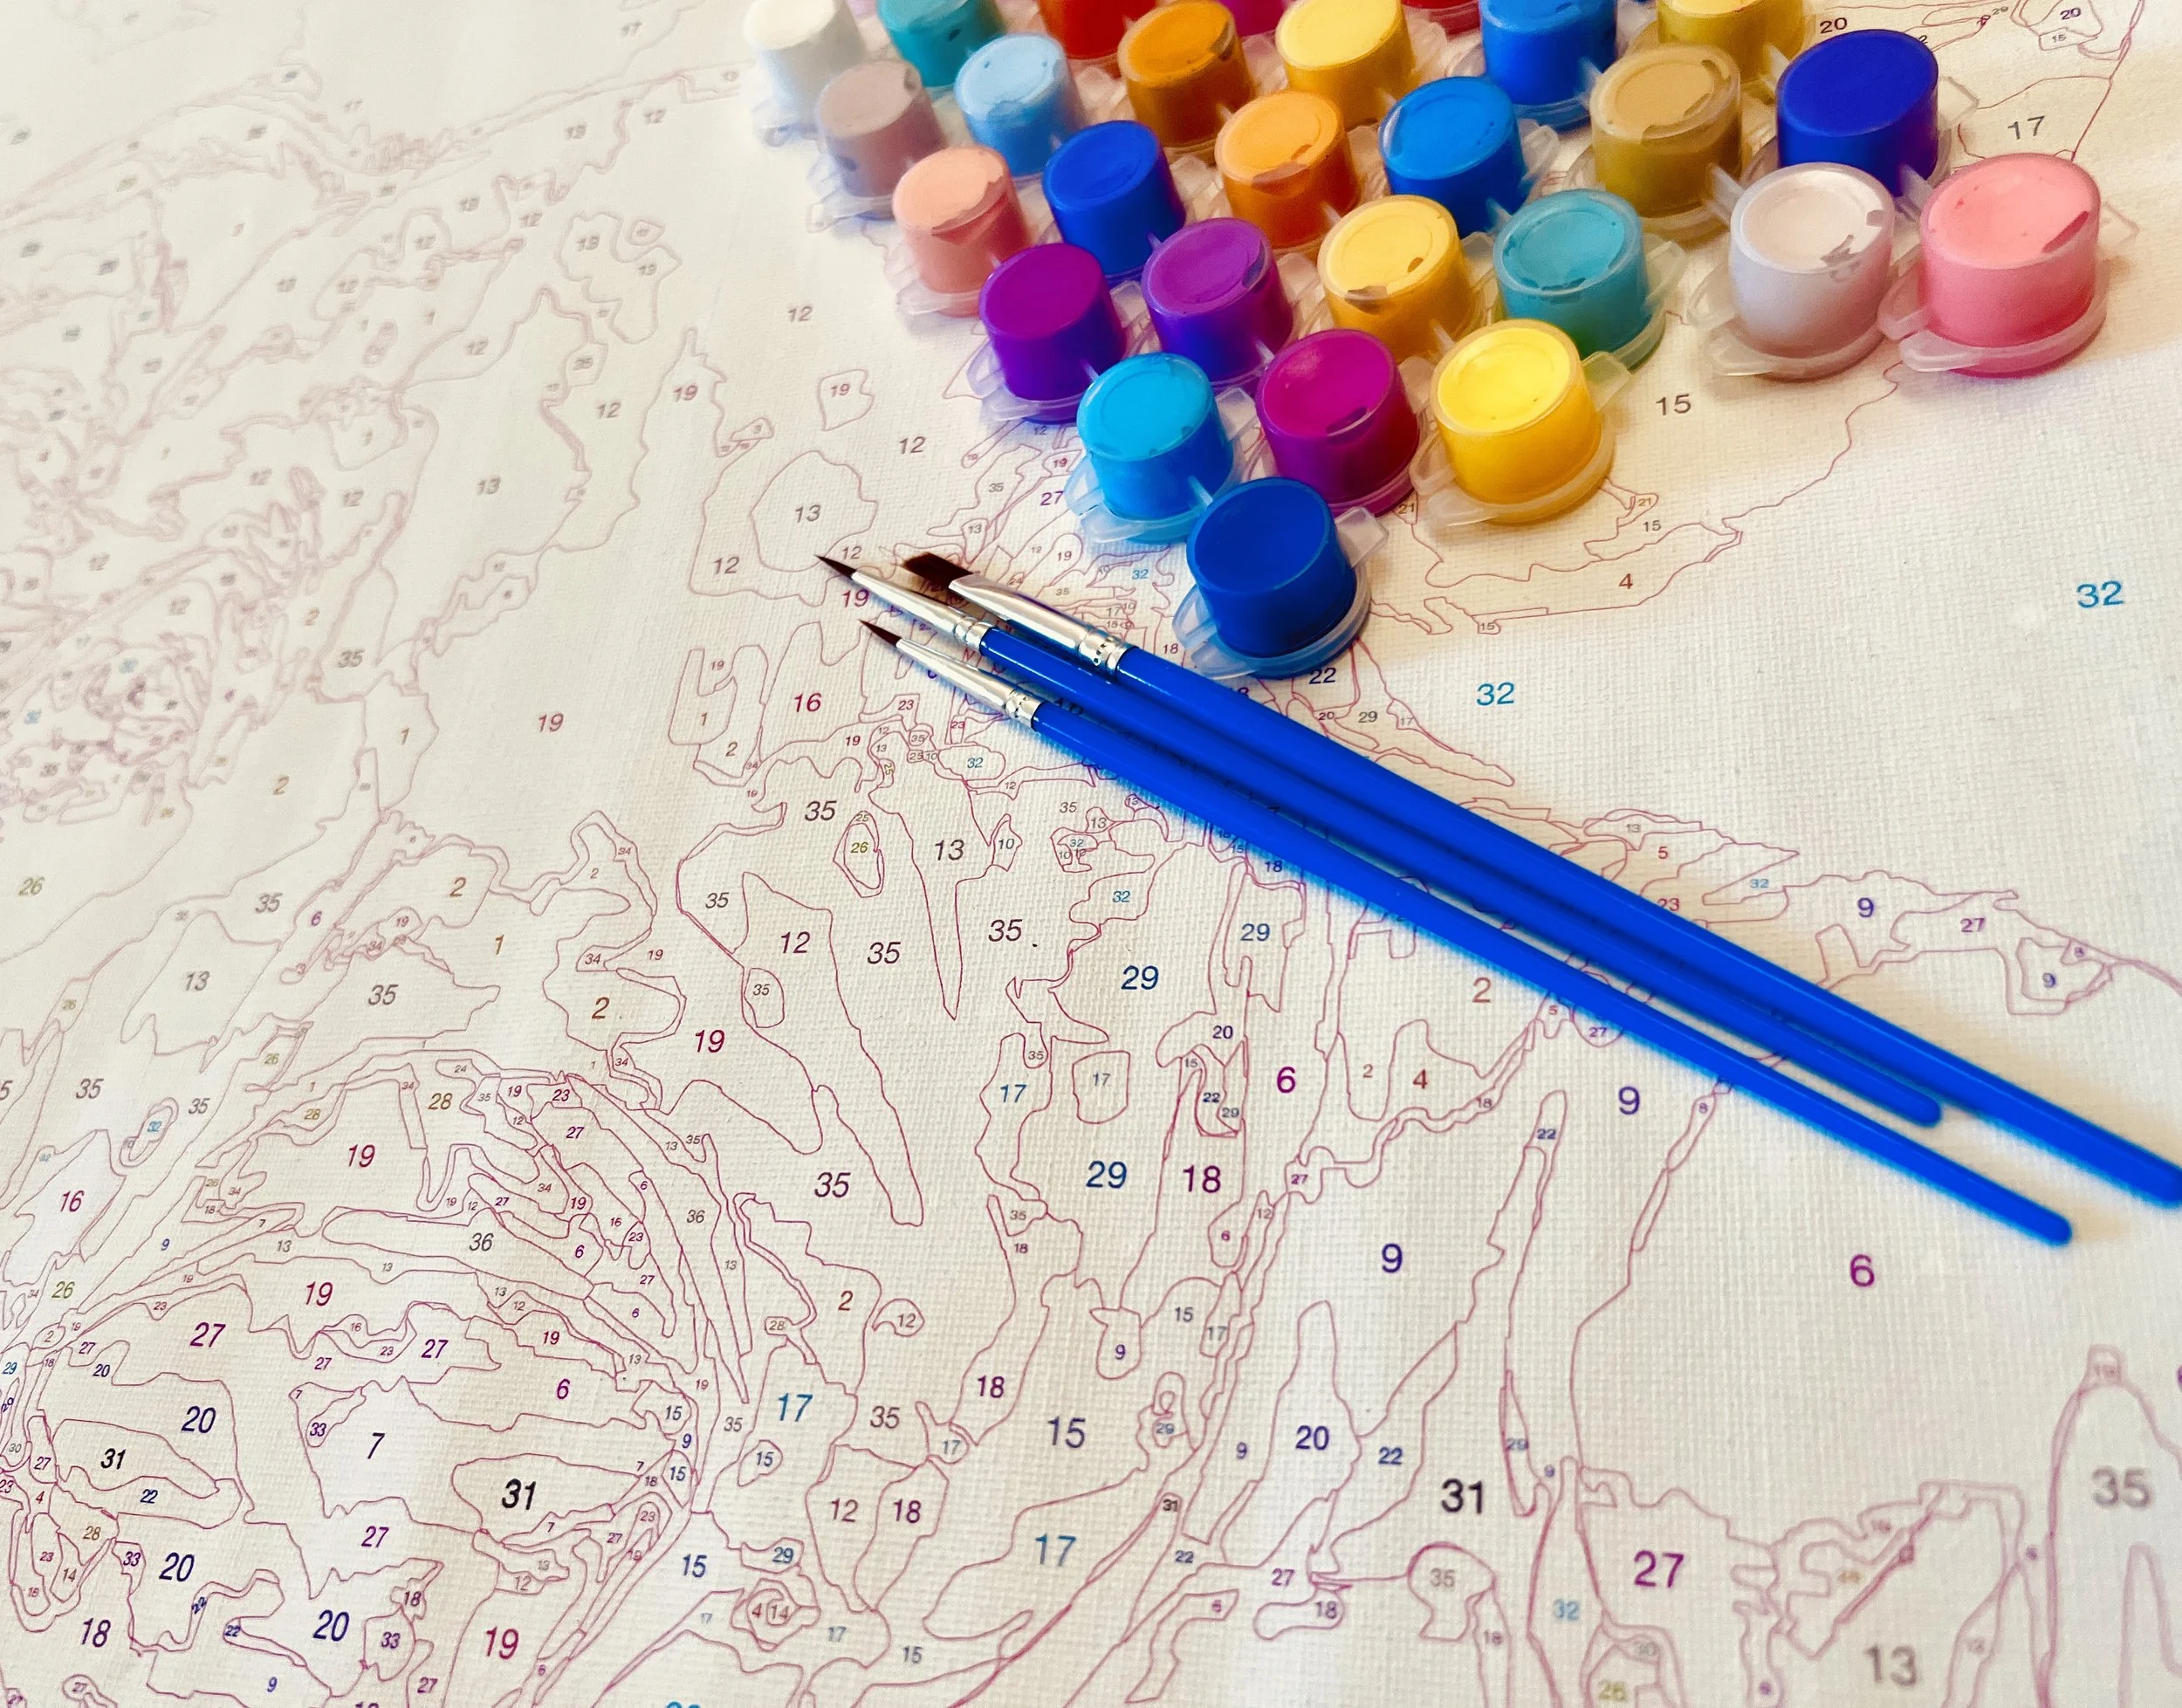
Follow the pattern and watch your painting emerge to reveal a colourful masterpiece created especially by you!
Paint by numbers is as simple as following a code where the picture itself is divided into shapes and marked with a number which matches to a specific colour.
An exciting aspect of paint by numbers is that its initial appearance is sparse and colourless, but as you continue to fill in the shapes a picture begins to take form. Stand back and admire your completed art project which has brought a blank page to a stunning picture.

Getting Started
-
Get some water in a cup/jar to clean up your brushes when switching colours.
Use paper towel for cleaning/wiping your brushes
Place your canvas on a flat surface - I wouldn't recommend stretching it over the stretcher bars until after you finish the painting unless you're using an easel
-
Keep your brush wet when you paint to make it easier and smoother to spread the paint.
Paint each colour one by one as per the corresponding number.
Finish a numbered colour if you can, it helps to not dry paint out as you aren't constantly opening and closing different tubs.
Wash the brushes well by rinsing them with water after each use.
I suggest you start on the smallest areas of the canvas first. Hot tip – toothpicks work really well for filling in teeny tiny areas! Then move to the big areas later.
Take your time and enjoy!
-
Let the canvas dry for 24 hours once finished.
See the guideline below on how to stretch the finished canvas onto the stretcher bars for a hangable piece of art.
Post yourself with your completed masterpiece onto my social media x
How to Stretch your completed Canvas over the stretcher bars
Once you’ve finished your masterpiece and you’re happy with how it’s looking, it’s time to stretch the canvas over the timber bars to complete the artwork.

Join the bars at each end making sure the long ends are attached to the shorter ends. Use a hammer to put into place if needed.

One side at a time, stretch the canvas and tack beside the middle thumbtack. You can use extra thumbtacks if needed.

Place the frame on the back of the canvas, centred.
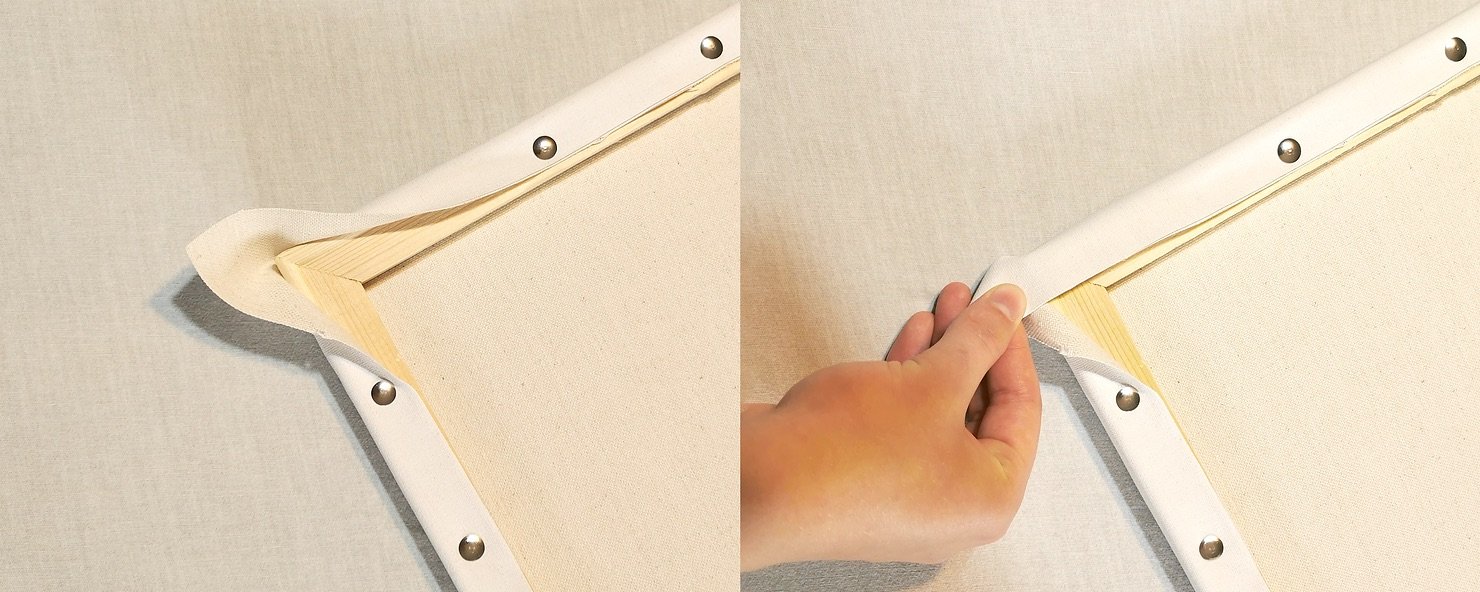
Nearly there! Next, fold each corner and secure in place with tacks.

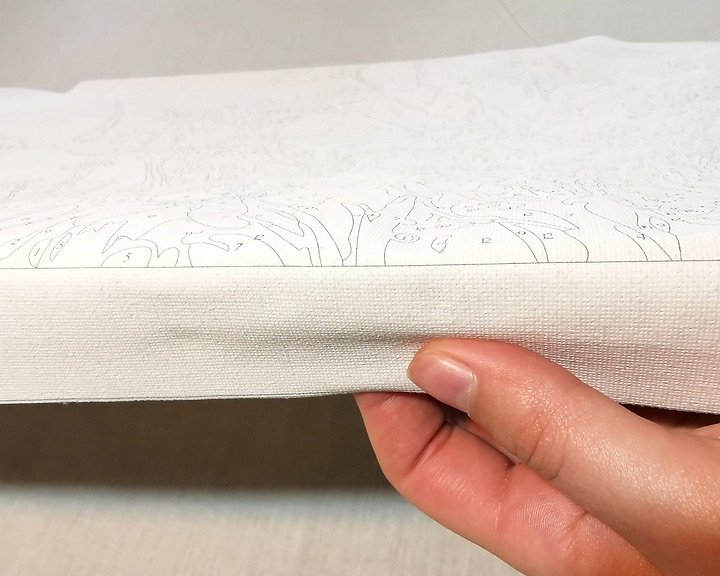
Align the border of the painting with the side of the bars.

TA DA!! You have a beautiful, completed stretched canvas painting!

Thumbtack one side, and then tightly stretch the canvas across and tack the opposite side. Repeat for the other two sides. Keep checking the painting is aligned by flipping over.

